I learned from a misjudgement made years ago in my first marital home. Then, we ignored a detached undermount sink.
It was a huge mistake because the water leakage from the dislodged sink soon meant an episode of the rotten cabinet underneath, and hence more repair works to deal with.
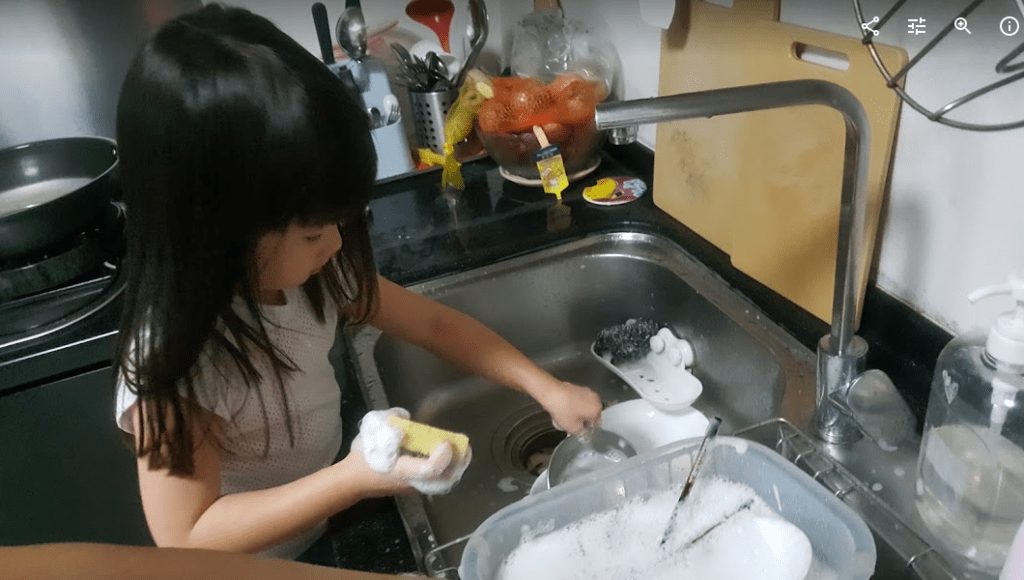
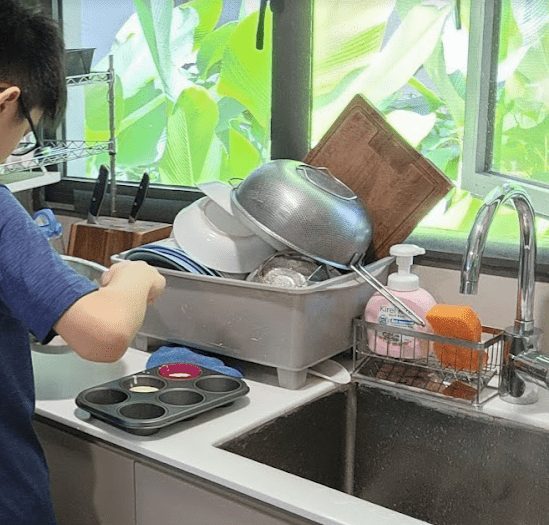
Check out the differences between an under-mount sink and a top-mount one.
The under-mount one certainly looks sleeker and provides a lot more convenience as I can easily swipe water and waste from the countertop right into the sink. But it is subject to a lot of gravitational pull as the sink is attached under the countertop using adhesive cement, and for some brands, clamps.
I believe that the top-mount sink will be more durable as the sink rim sits on the countertop, meaning that it can hold the weight of multiple pots and pans.


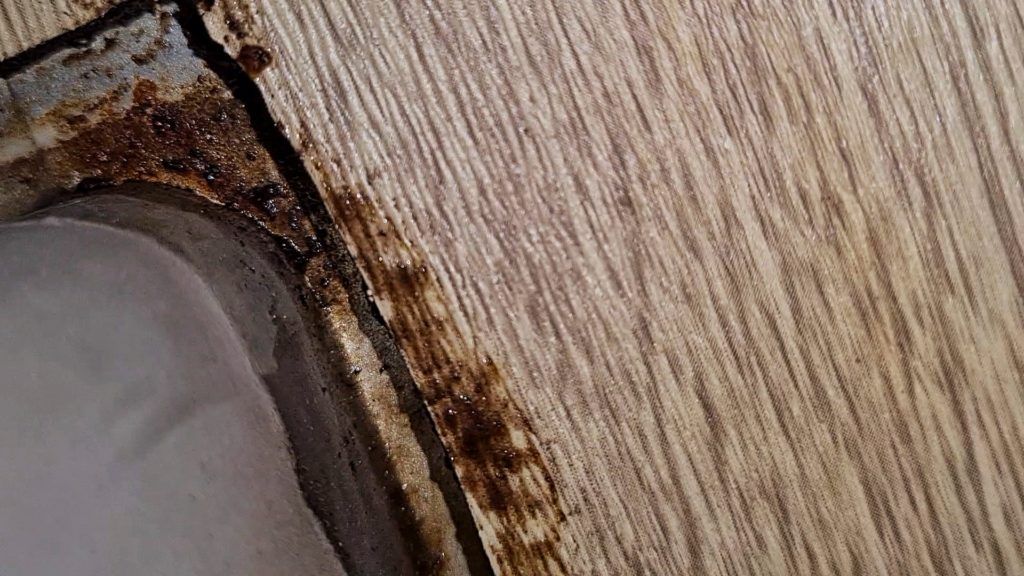
Fast forward a couple of years. We have now settled into our second home. But, again, the under-mount sink installed by the developer gave me the same problem, leaving water patches on the internal laminate.
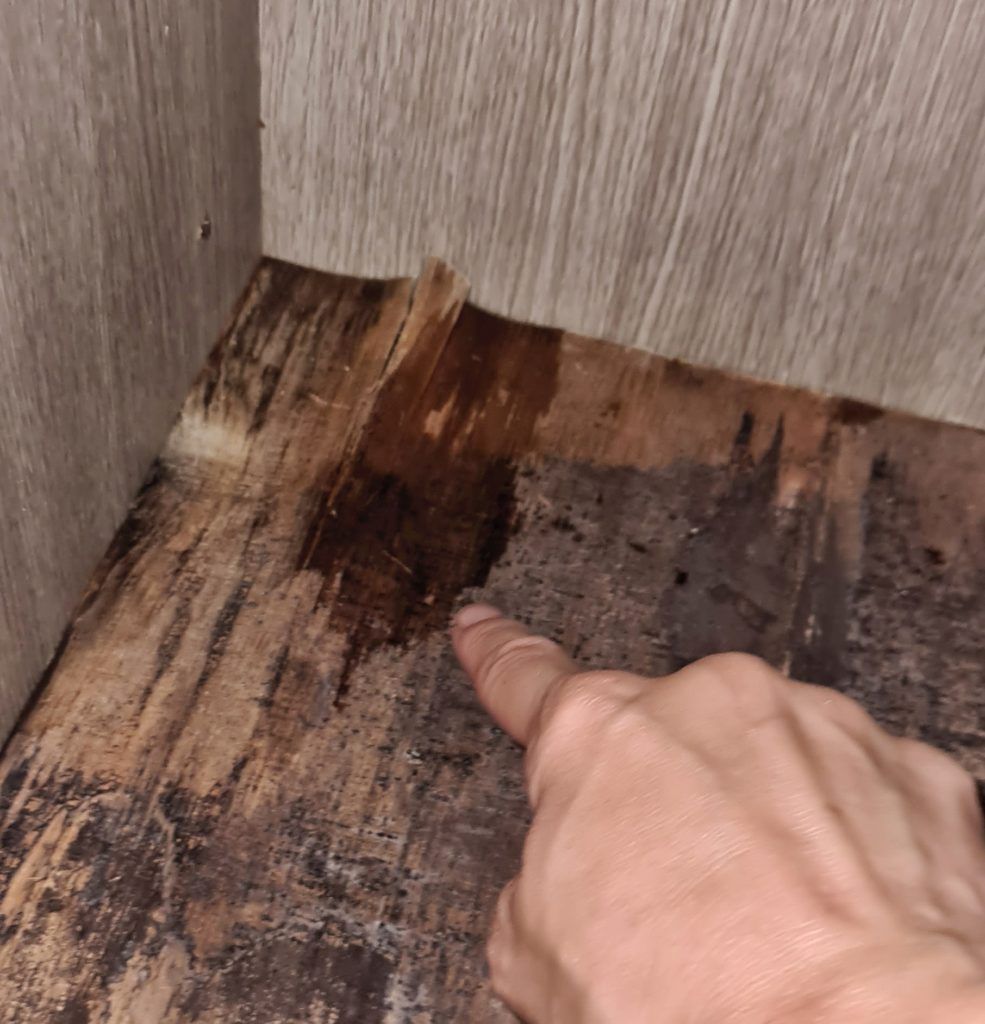
Fungi were already growing in some corners under the countertop.
I decided to act fast this time. Hence I googled and went to Youtube for some DYI methods to reinforce the under-mount sink. But most of the techniques require screwing additional sink clamps to provide additional support to the under-mount sink.
I was not keen to drill additional holes into my cabinet. I have zero knowledge of plumbing and carpentry. Better leave this to the professional.
My DYI Solution For A Detached Undermount Sink
So I thought of a way to solve my immediate problem without spending on carpentry/plumbing services. Unfortunately, it is not a long term solution. Instead, I am probably delaying the need to call in the professionals. Sorry for not contributing more business opportunities to the local economy.
The solution is simple. I only need two tension rods and a sealant.
I bought two tension rods online for a length of 50 – 80 cm with a maximum load of 20 kg each and a tube of adhesive sealant.
My helper pushed the top flange of the sink against the bottom of the countertop to her maximum effort. Meanwhile, I inserted the tension rods below the sink in an upright position, one rod on each side. Then I twisted the rods to lengthen them as much as possible.
Next, I applied the sealant to prevent future water leakage.
In hindsight, I should have dried the gaps first and applied the sealant onto the gaps before I fixed up the tension rods. The end result may look a lot neater.


Result
4 months after the installation, there is no more water leaking into the cabinet.
However, we are now conscious about not abusing our sink with heavy loads. As I did a patchy sealant work that collects mold quickly, we have to frequently clean the under edge around the countertop holding the sink. In addition, we will look out for water leakages under the sink on a periodical basis in case the sink detaches again.
What do you think of this DYI method? Is there any better DYI way to hold up a detached undermount sink without drilling into the cabinet? Please let me know in the comment box below. Thanks in advance!
You may also like these posts:
Childproofing Our Home For The Toddlers
Clenzd – Powerful Food-Grade Sanitizer That Eliminates 99.999% Of Viruses And Bacteria!
How I Manage My Pain From Slipped Disc