Before the December school holiday started last year, we walked past a studio that teaches children clay art. Displayed at the windows were all the adorable animals and robots created by the little students.
So I asked my 7-year-old and 8-year-old, “Shall we sign up for a 10-session class to learn something new?”. And in unison they exclaimed, “No! It’s so boring!” I could tell from my daughter’s eyes that she was interested. But she was too shy to attend a class by herself, and her Koko wasn’t interested at all. The boy is just not into artwork that requires precision. Anyway, my hubby said I was crazy too. The program fee was hefty and paying for two kids just doesn’t make sense. Okay, I give up. But I was determined to let the kids do a bit of finger work this holiday to improve their dexterity.
So when I came across some art and craft clay sets from Amazon, I was jubilant because not only we could conveniently do some crafts in the comfort of our home, we did not have to pay so much too. While the kids won’t be guided by the professional art teacher from the studio, at least they would be doing something with their fingers.
The followings are the craft kits we did and my review on them.
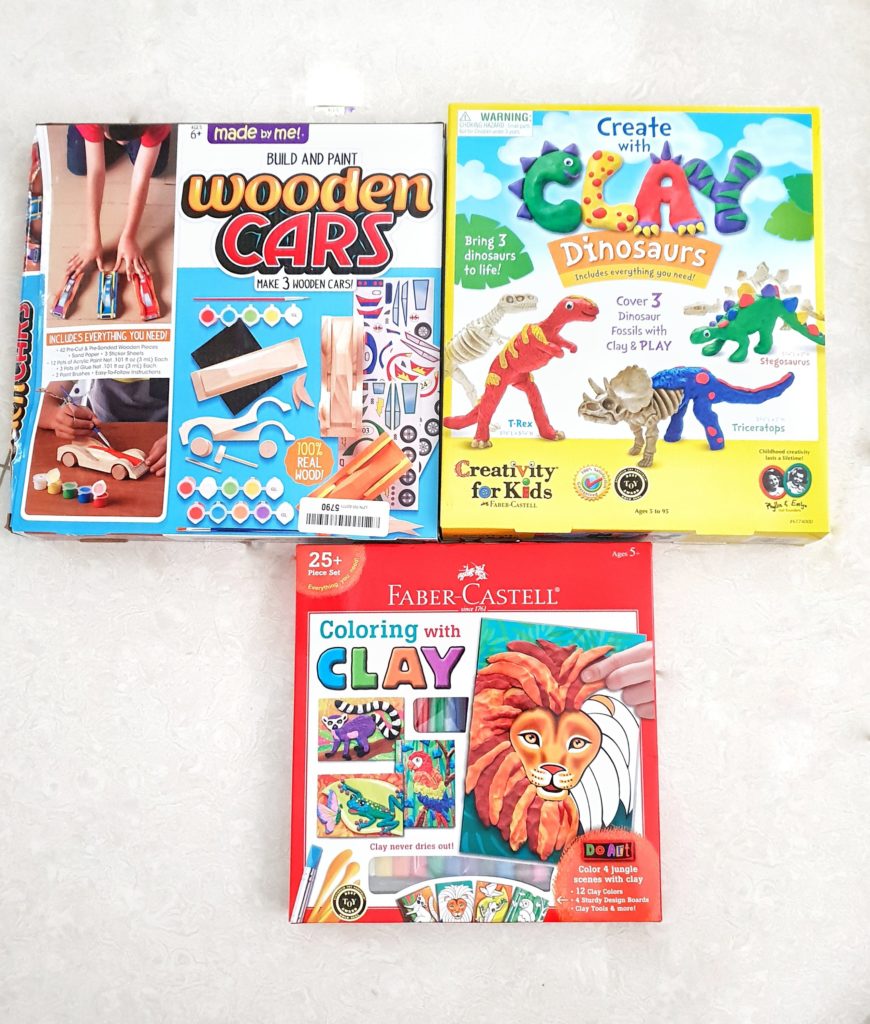
Creativity For Kids – Create With Clay
I followed my children’s desire. Since the boy was resistant to doing finger work, I have to entice him with something he loves. And that is – Dinosaurs!
His face brightened up when I showed him the kit. He could not wait to start.
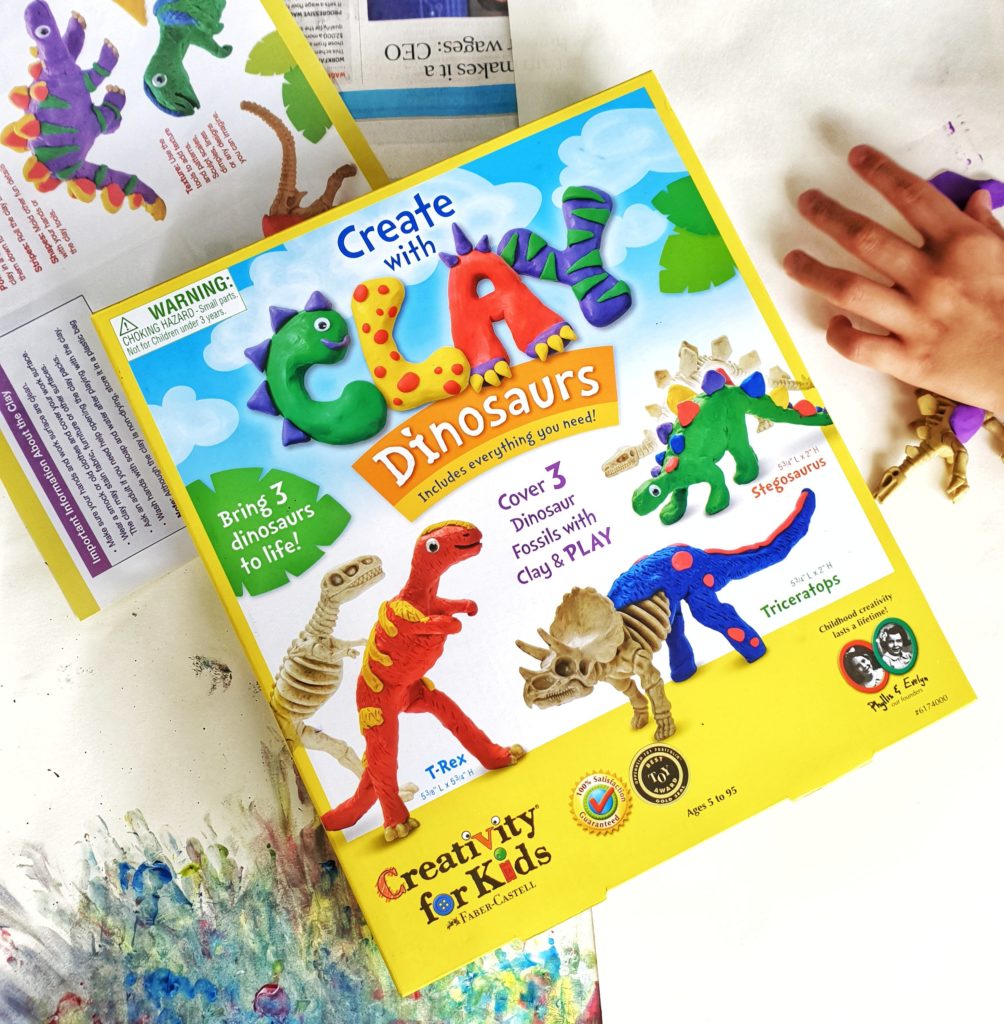
The dinosaur kit comes with 3 plastic dinosaur skeletons, 5 clay
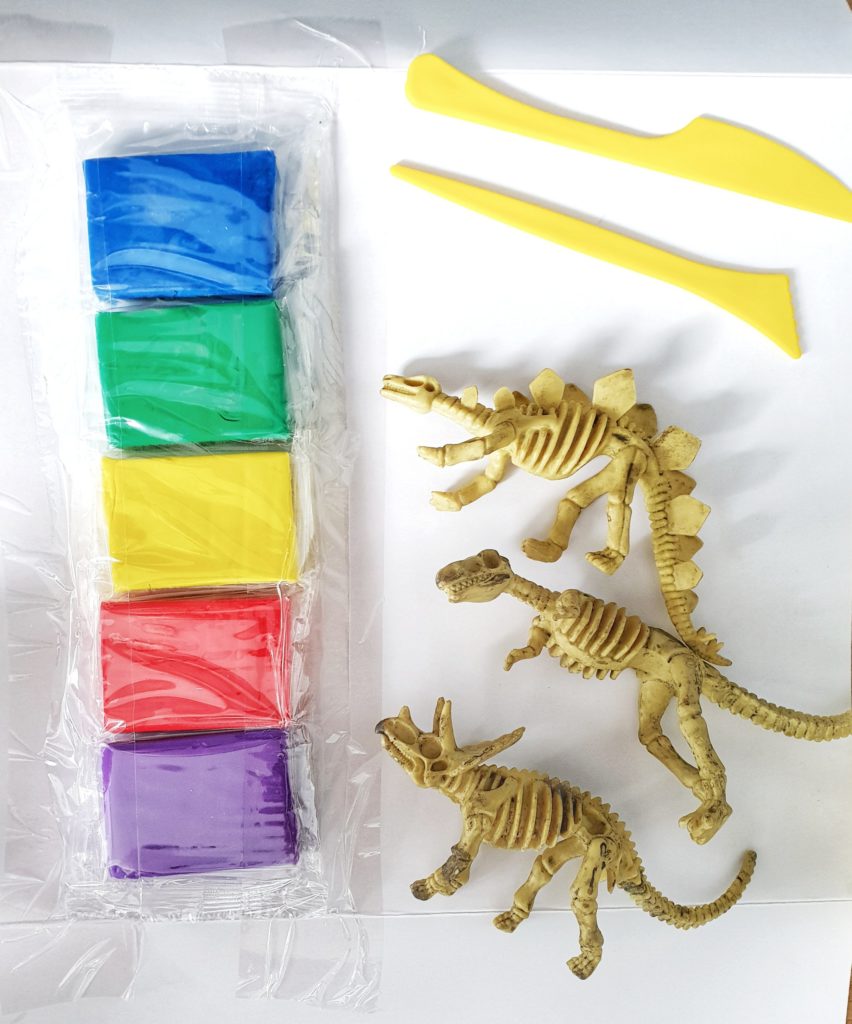
Guided by the instruction manual, we cut the clay blocks into small pieces and gradually kneaded them onto the dinos. The clays were soft and easy to knead. However, some dino corners were hard to reach and the
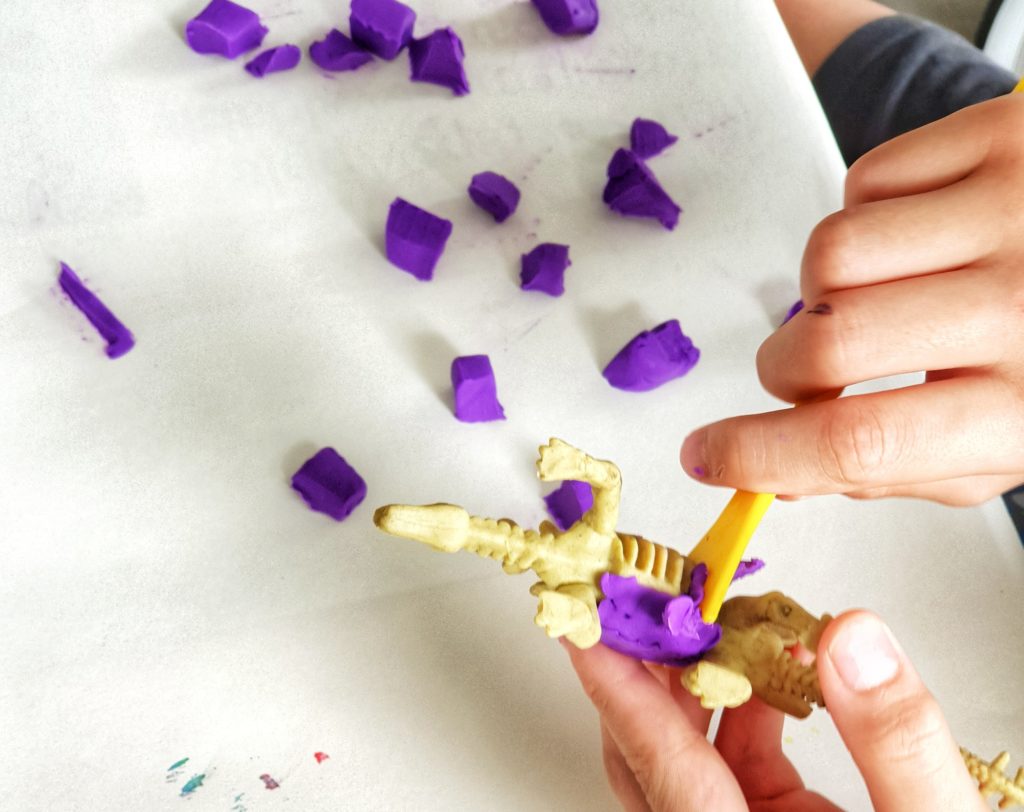
A word of warning though. The clay stains! Fortunately, we had laid the table with our IKEA easel paper to minimize the aftermath cleaning.
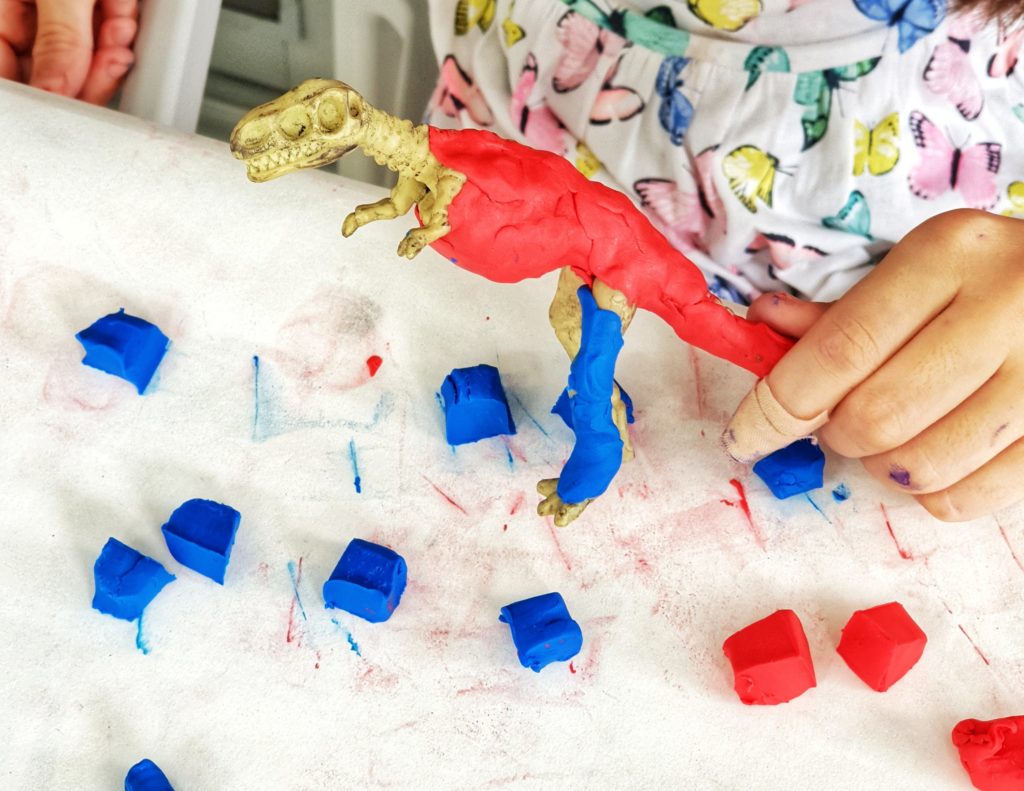
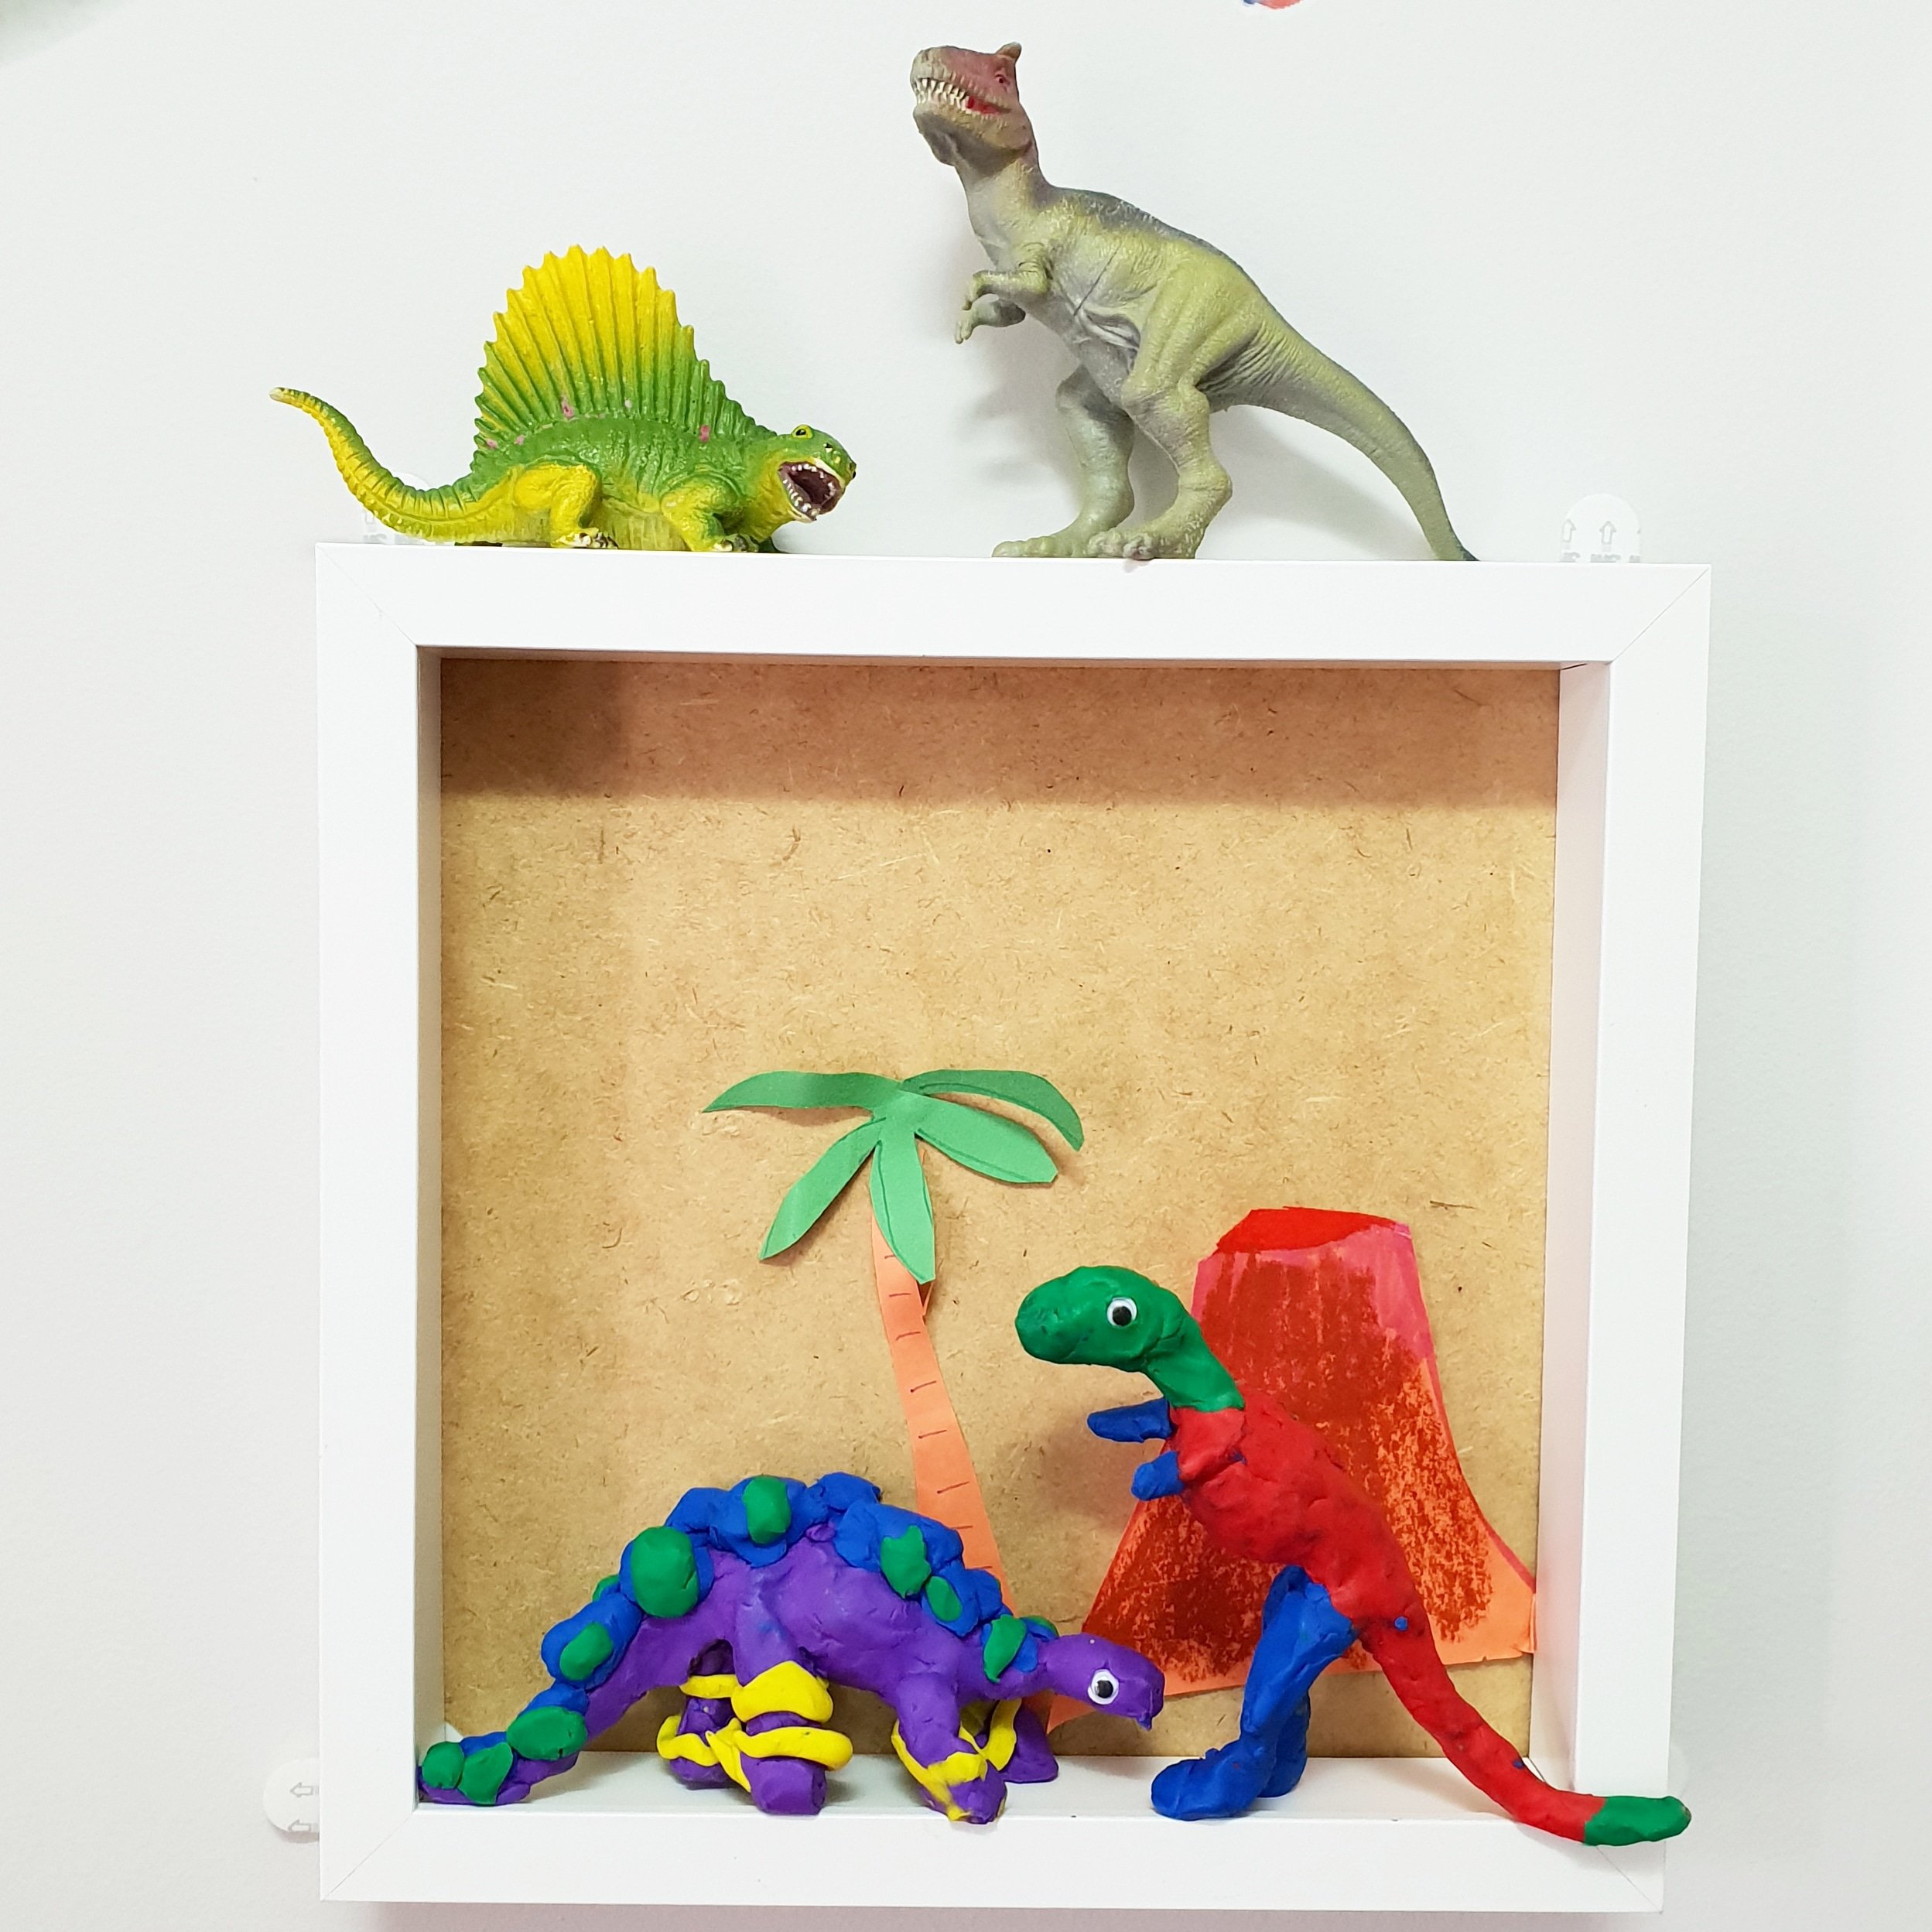
Ta-da! See our completed works here. The kids were so proud of their dinos that they had to display it in their room.

Although we completed all three dinosaurs, there are lots of clay left. I will be buying more dinosaur skeletons* to use up the remaining clay.
In addition, according to other users, we can choose to remove the clay and work on it again, because the clay does not dry out. We haven’t tried it out ourselves, but I don’t think the kids will bear to destroy the work they have painstakingly done.
You can get the kit from Amazon here*.
Faber-Castell Do Art Coloring with Clay
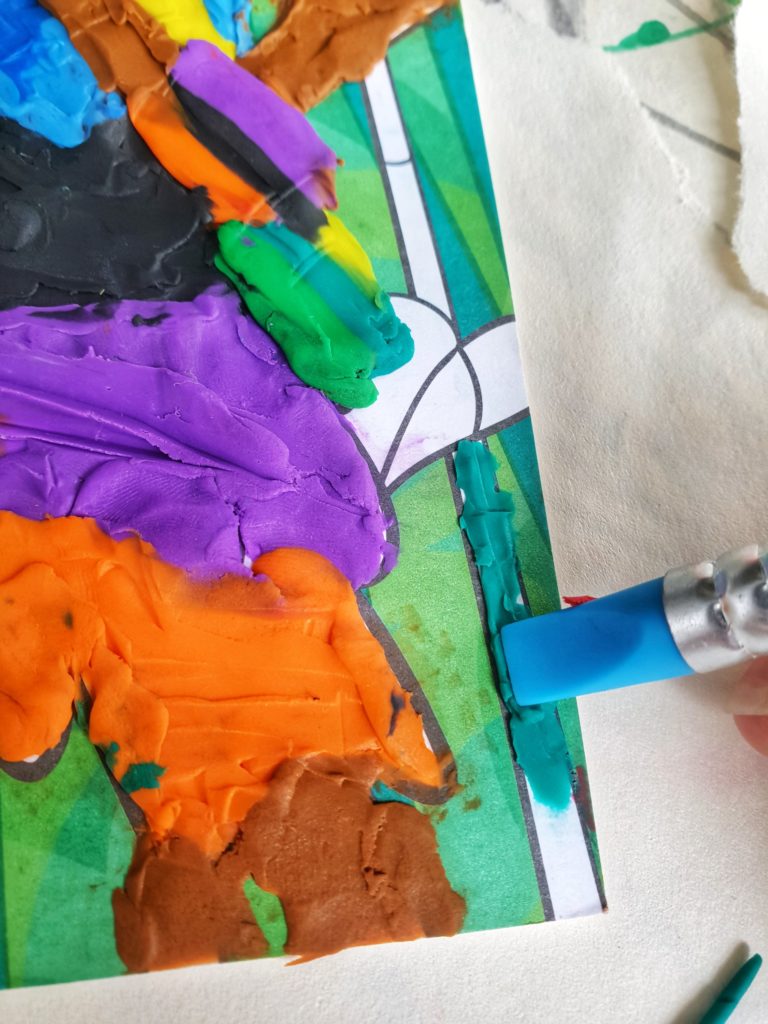
The next clay activity we did was clay painting, using the clay kit from Faber-Castell.
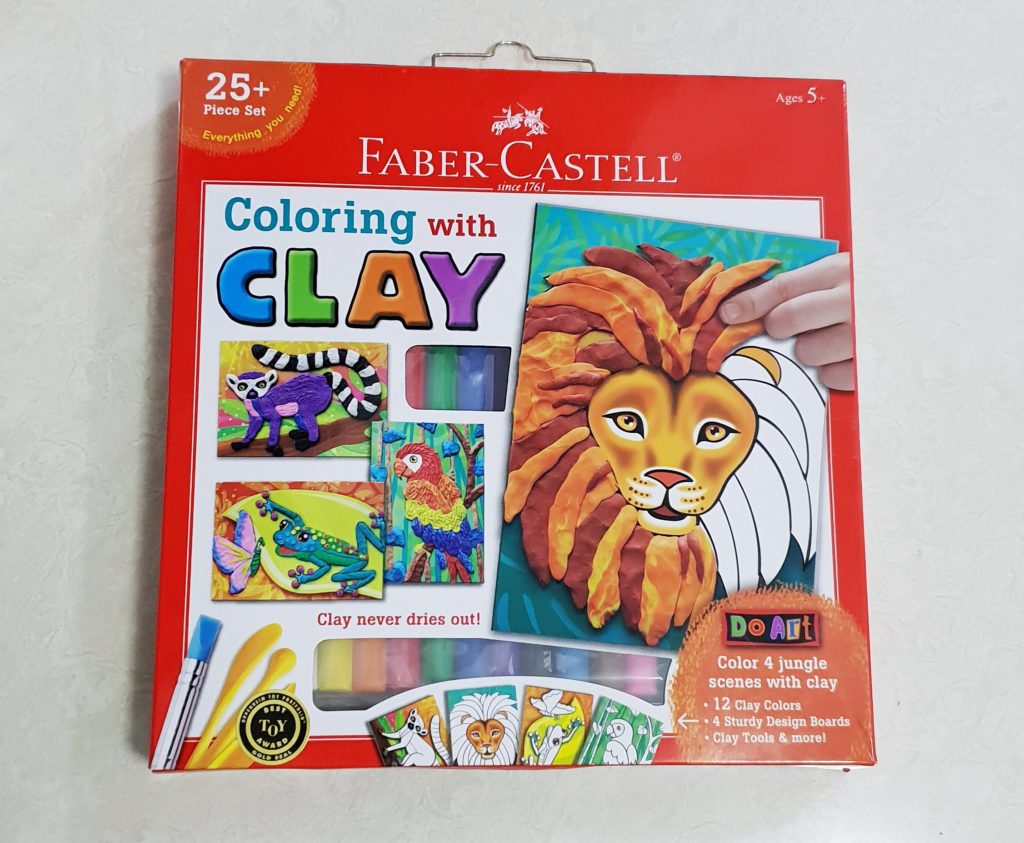
The set comes with 12 sticks of clay in different colours, 4 fun animal designs, special rubber tip blending tool, 3 clay tools and easel backs to display the finished works.
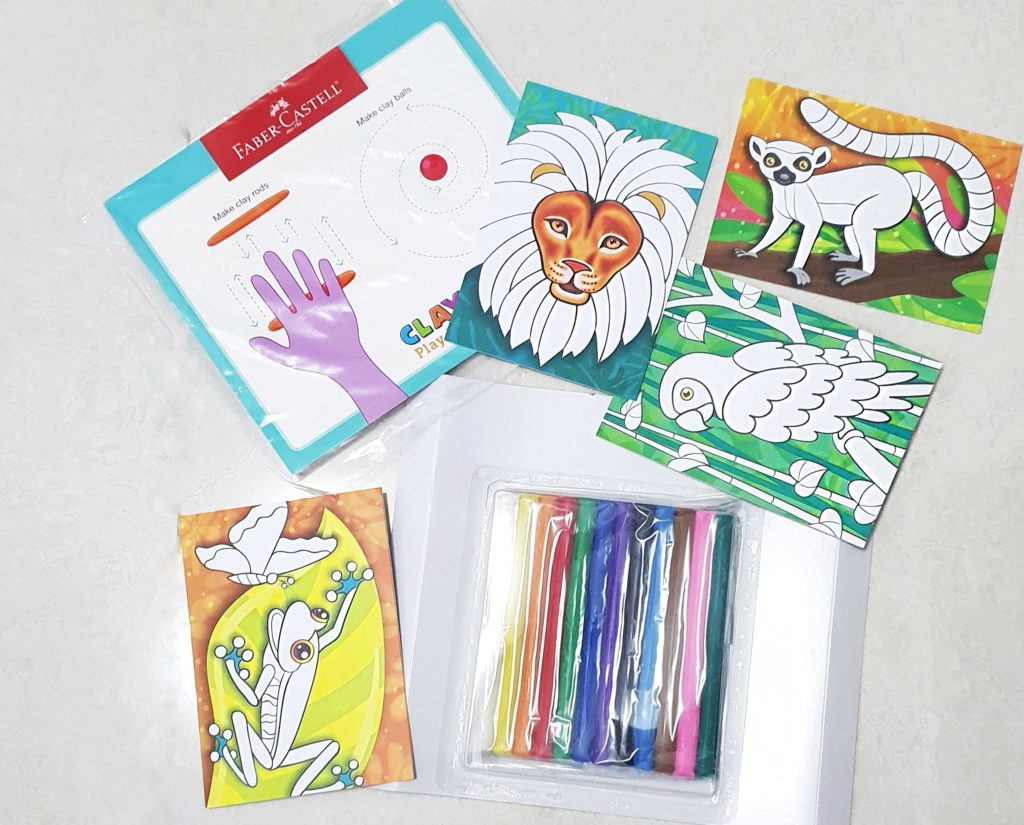
We cut the clay of our desired colour into tiny pieces, and roll them into strips or balls before applying onto the picture. The applicator with a blue sponge tip is great for blending. However, the clay needs a little kneading to soften so that it sticks onto the picture card better.
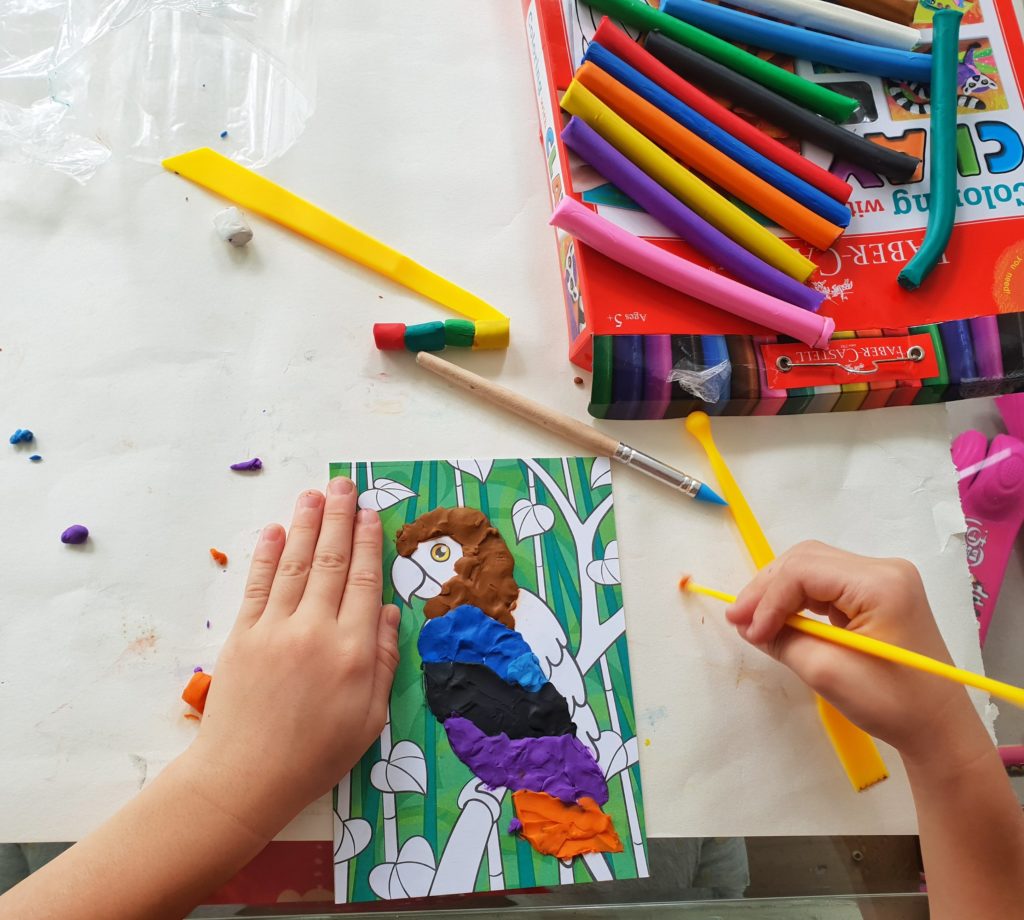
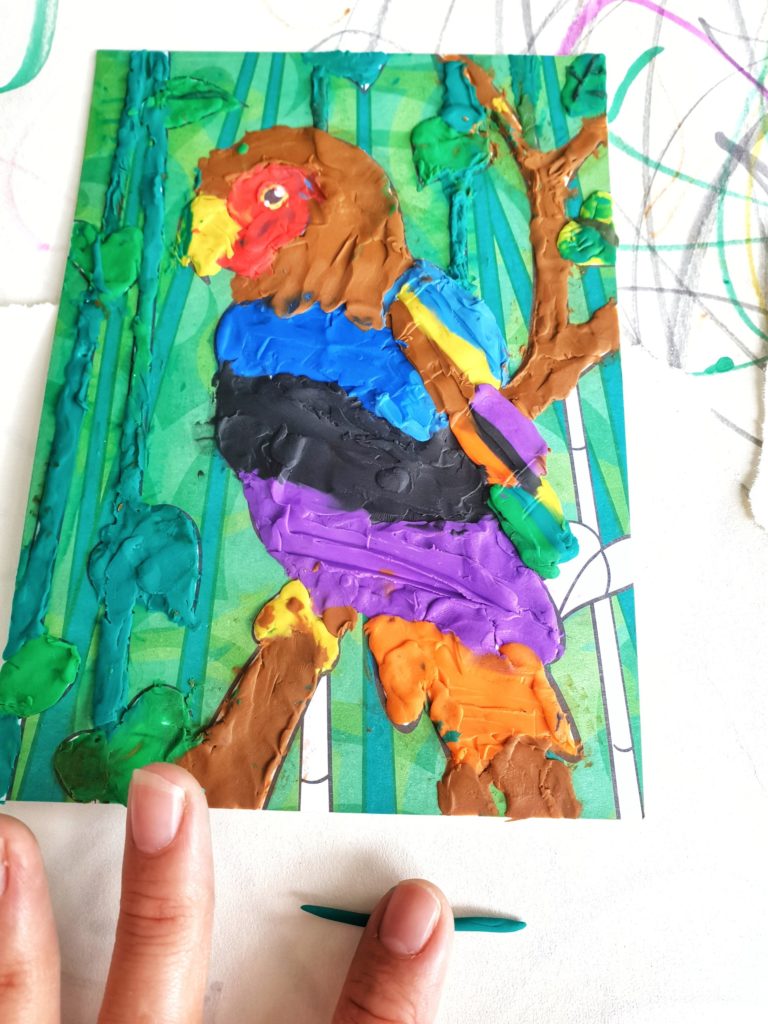
This particular picture is not easy to complete due to the fine details in the background. My daughter took a couple of hours to complete just one picture. She was tired out from the creation and needed me to fill in the finer details.
After completing two out of four of the pictures, we are still left with more than half of the clay. Maybe we will use it to make more dinos.
You can get the clay colouring kit from Amazon here*.
Made By Me Build & Paint Your Own Wooden Cars
While this is not clay art, it still gets the kids to sharpen their fine motor skills. And to entice my boy to do more of such activities, the activity needs to be related to something he likes – vehicles. Again, he was thrilled and wanted to start building the cars immediately.
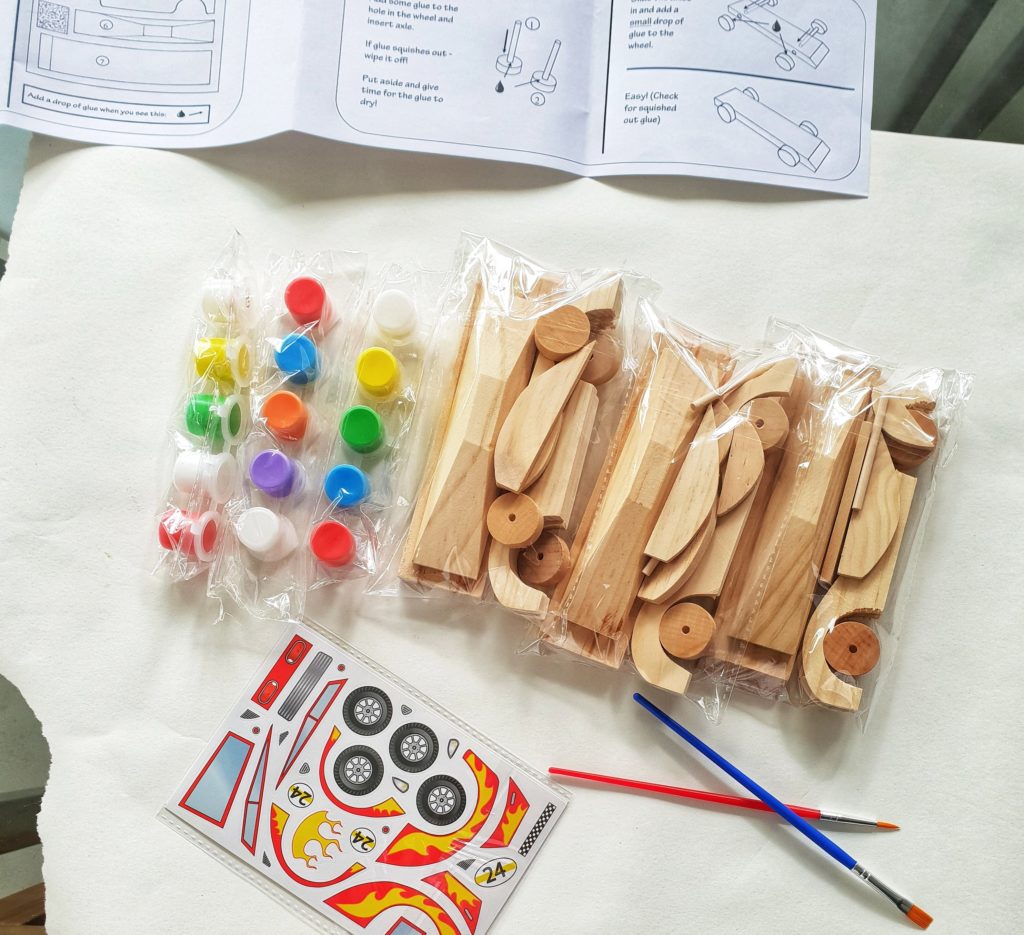
The kit includes 42 pre-cut and pre-sanded wooden pieces to Make 3 Cars, Sand Paper, 2 Paint Brushes, 12 Pots Of Acrylic Paint, 3 Pots of Glue (0.101 fl oz. Each) And 3 Sticker Sheets
We did not use the sandpaper at all as the wooden pieces were smooth enough. However, the glue provided in the kit was not strong enough to hold the wood pieces together. The kids were so frustrated with the building and I had to step in and help out a lot. In the end, I gave up and used super glue to put the pieces together.

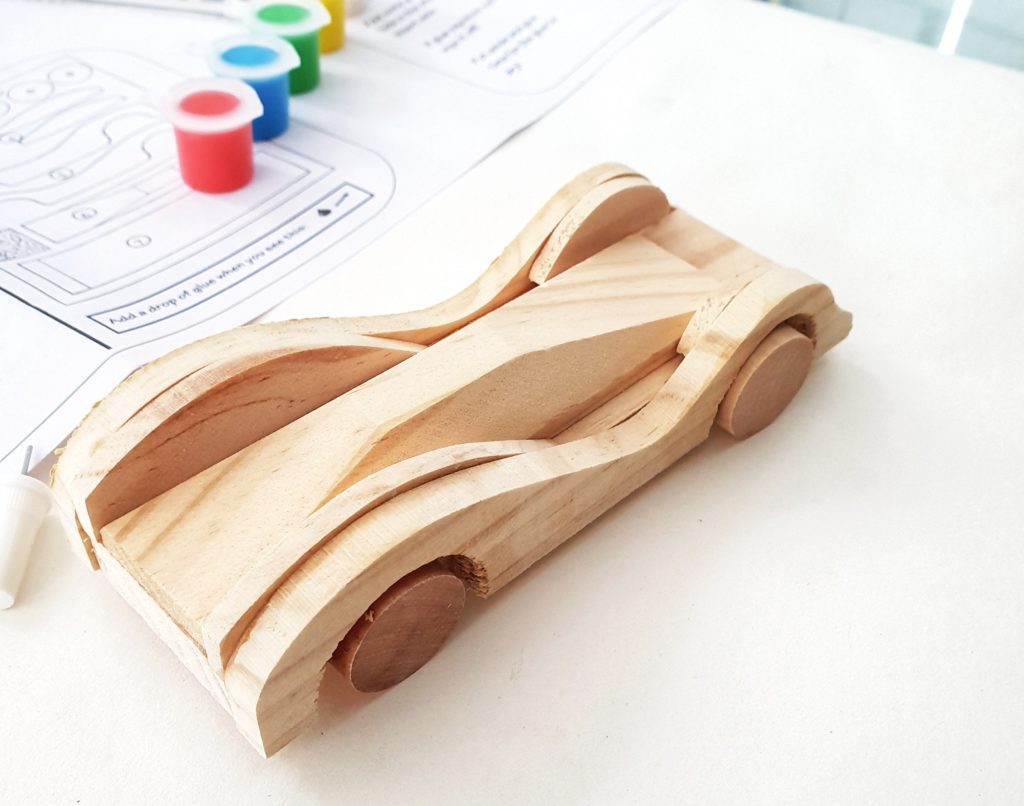
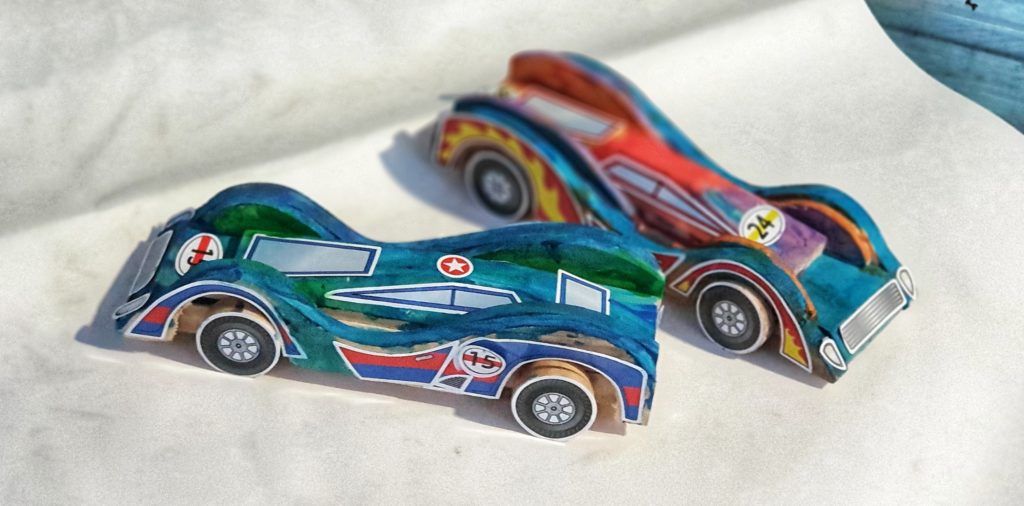
We let the glue dried overnight. The next day, the children finished up the remaining decorative works. It was still a fun piece of work, though it could have been better without the lousy white glue provided.
In case you are keen in this woodwork, get it from Amazon here*.
You may also be interested : –
Digging dinosaur bones with my boy
Discovering Playground: Science Centre KidsSTOP
Hope I have shared something useful here.
Don’t want to miss my posts? Subscribe here to get updates from me.